Ubuntu 18.04 LTS aka Bionic Beaver is out today (April 26, 2018) and you can download it here.
After downloading it, go to the folder and do a shasum check to ensure your download’s integrity.
Here’s how to do the shasum check:
$ sha256sum bionic-desktop-amd64.iso
adf9c1cbb2529cb06a67bbb16af881d8d918078e7e155a897ac30a9e0cf2bafa  bionic-desktop-amd64.iso
Since this is a LTS (long term support) version, users of Desktop, Server and Core editions will get support in terms of security and other updates for the next five years, i.e., until April 2023.
I’m not a stranger to Ubuntu 18.04 LTS since I had already downloaded beta 2 (desktop version) a few days back on a Dell Optiplex 780 PC and launched it via Virtualbox.
Here are my first impressions of the official release of Ubuntu 18.04 LTS, which hews close to beta 2.
Smooth Installation
Although I could have burned the iso to an USB drive and launched a “Live” session, I preferred to do an actual install on my hard drive.
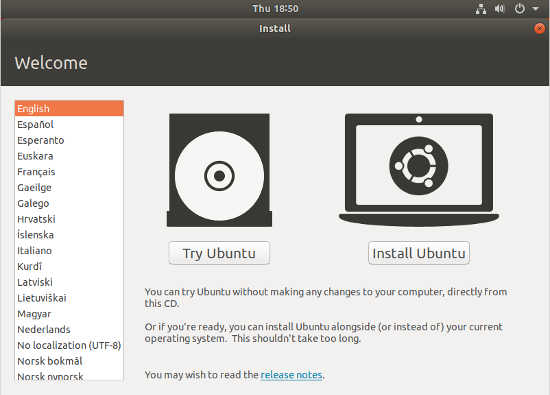
For purposes of this post, I installed Ubuntu 18.04 on an old Dell Optiplex Core 2 duo system (specs: 250GB Samsung SSD and 5.5GB RAM).
My installation was under the Oracle Virtualbox virtualization software.
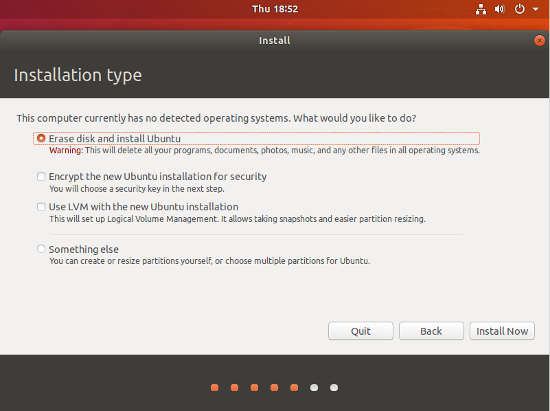
During the process of launching Ubuntu 18.04 on Virtualbox I alloted the new OS 3GB RAM and 10GB of hard disk space on the Dell PC.
I selected the “Normal Installation” option and so I got the new Libre Office 6, and a bunch of other stuff.
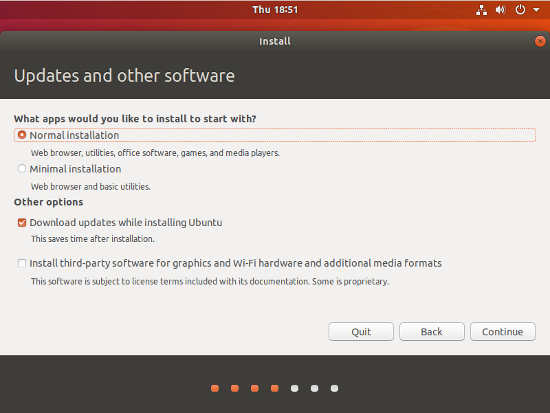
If you pick the “minimal installation” option, you’ll get just Firefox browser and some basic utilities like Document Viewer, SeaHorse Gnome app for managing encryption keys, and Gnome screenshot.
If you’re new to Linux, I recommend the Normal (full) install.
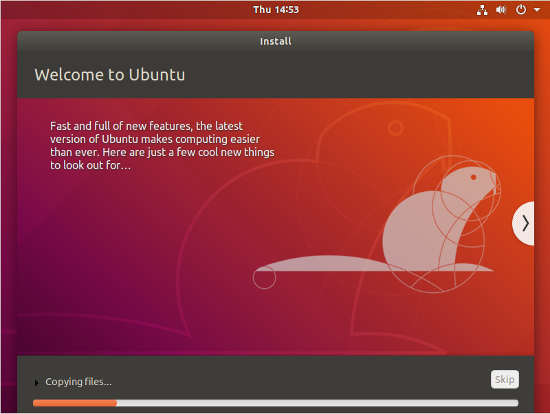
The installation went smoothly and I was quickly off to the races after hitting the “restart” button.
If you’re planning a Virtualbox type install, then some features like bidirectional copy may not be available because the “guest additions” version for Ubuntu 18.04 aka Bionics Beaver is not available yet from Oracle Virtualbox.
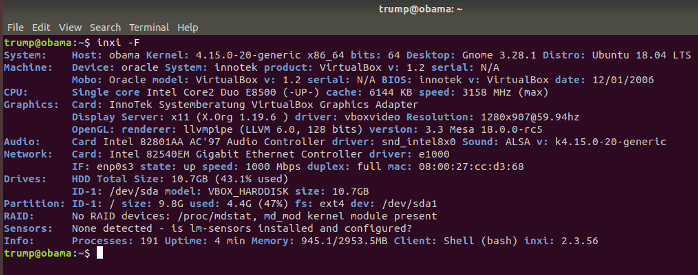
The kernel on my Ubuntu 18.04 LTS system is 4.15.0-20, Gnome is the default desktop, X the default display server and GDM the default display manager.
Oh, Python has been upgraded to version 3.6 in Ubuntu 18.04 LTS.
Install Inxi
One of the first things I do on any new Linux system is to install a program called inxi and I quickly did the same on Ubuntu 18.04 LTS.
Inxi (now available in most repositories) provides a solid overview of your Linux system.
Here’s my inxi -F output for Ubuntu 18.04 LTS:
Key Changes
Of course, the biggest difference between Ubuntu 18.04 LTS and Ubuntu 16.04 LTS is in the desktop.
Ubuntu 18.04 LTS comes with Gnome 3.28.1 desktop. The previous LTS version (Ubuntu 16.04) came with Unity.
After playing around with both systems (i.e., Ubuntu 16.04 LTS with Unity desktop and Ubuntu 18.04 LTS with Gnome), I concluded that Ubuntu 18.04 LTS with Gnome is smoother, slicker and snappier.
Even with running it in a virtualized mode, I found Ubuntu 18.04 smooth.
Of course, there’s more to Ubuntu 18.04 LTS than just a change in the default desktop.
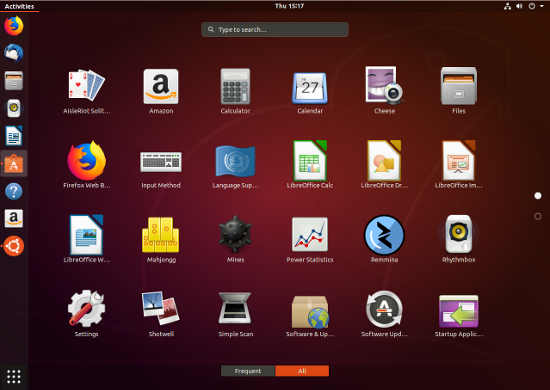
In Ubuntu 18.04 LTS, the window control buttons for applications (i.e., minimize, maximize, close buttons) have been shifted from the top-left to the top-right. To me, having the window buttons on the right side seem more natural.
The clock has moved from top-right to the top-center.
The calendar now features a Week View and supports recurring events.
Default dock position remains unchanged and is still in the left vertical position.
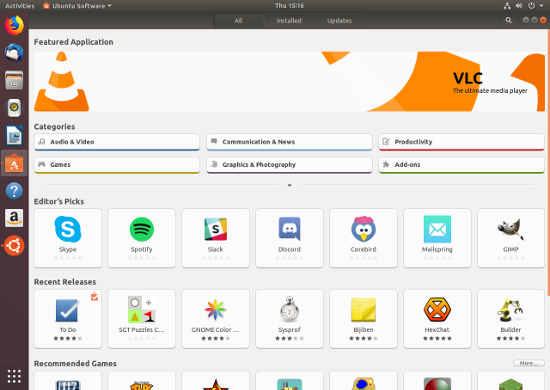
Ubuntu developers have made user interface changes to Disk Usage Analyzer, the nautilus file manager, Remmina, Settings, and Ubuntu Software.
Another change in Ubuntu 18.04 LTS is that System Log has given way to Logs, an app to view logs from the systemd journal.
By the way, Ubuntu 18.04 LTS no longer comes with a 32-bit version. It’s only the 64-bit OS going forward.
Ubuntu is also making available downloads of the new release in Kubuntu, Lubuntu and other flavors here.
Information Collection
During the process of installation, Ubuntu provides users an option for users to send across a bunch of information to Canonical (Ubuntu’s de facto parent).
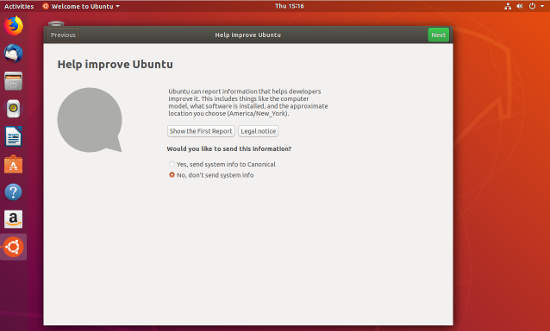
Information collected include your CPU brand, bios, RAM, storage, screen resolution, whether auto login is enabled and your time-zone.
Unfortunately, the default is opt-in.
But since there’s a clear option to opt-out, I would not raise a hue and cry about it.
Upgrade Path
Users can install Ubuntu 18.04 LTS as a fresh (new) install or upgrade from 16.04 LTS or 17.10.
Upgrading from Ubuntu 16.04 LTS or 17.10
If you plan on upgrading the desktop version, here are the steps (as explained on the Ubuntu web site):
1) Open the “Software & Updates” Setting in System Settings.
2) Select the third tab, i.e., “Updates”.
3) Set the “Notify me of a new Ubuntu version” drop-down menu to “For any new version”.
4) Press Alt+F2 and type in “update-manager -cd” (without the quotes) into the command box.
5) Update Manager should open up and tell you: New distribution release ‘18.04’ is available.
6) If not you can also use “/usr/lib/ubuntu-release-upgrader/check-new-release-gtk”
7) Click Upgrade and follow the on-screen instructions.
If you recently installed or upgraded Ubuntu 16.04, the Update option is already selected in the Updates tab.
My Thoughts
Overall, my first impression is that Ubuntu 18.04 is not a bad deal for a free and robust desktop OS.
The upgrade represents another step in the evolution of Ubuntu as a robust desktop Linux distribution.
Will Ubuntu 18.04 LTS tempt me to make it my default Linux PC?
No, I won’t.
Linux Mint (based on Ubuntu) is a more user-friendly distribution and I will continue to stick with it.

Sorry, the comment form is closed at this time.